Use male headers only unless building removable Teensy
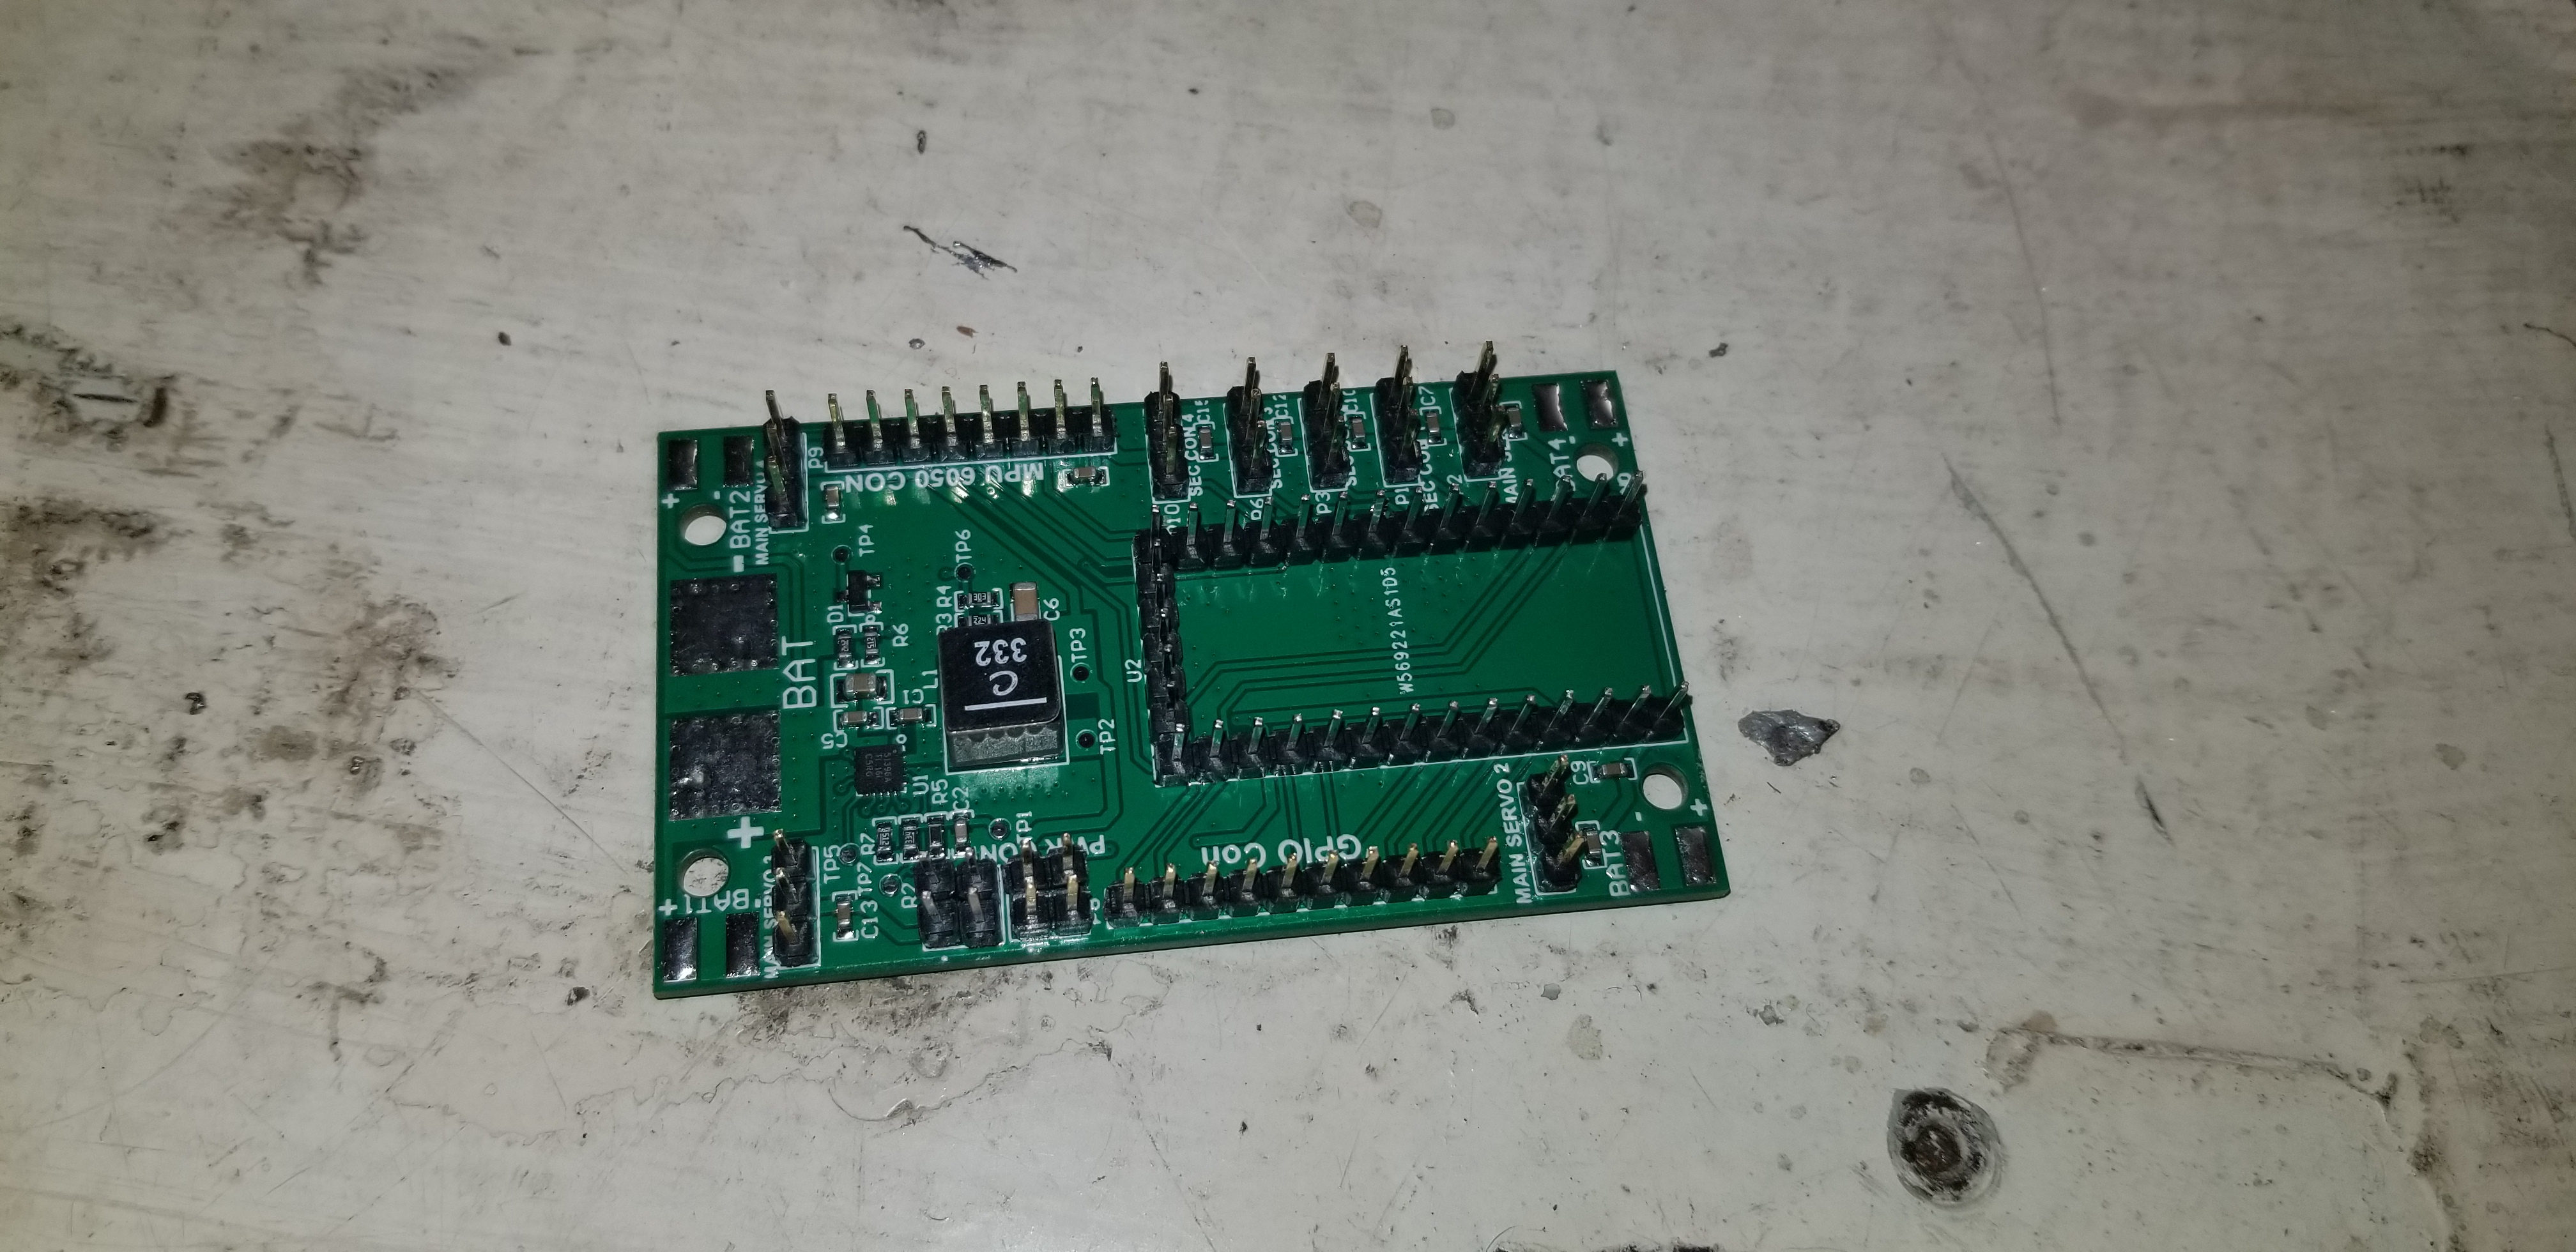
put the correct header pins into the holes on the TowerBoard
put the teensy onto the pins
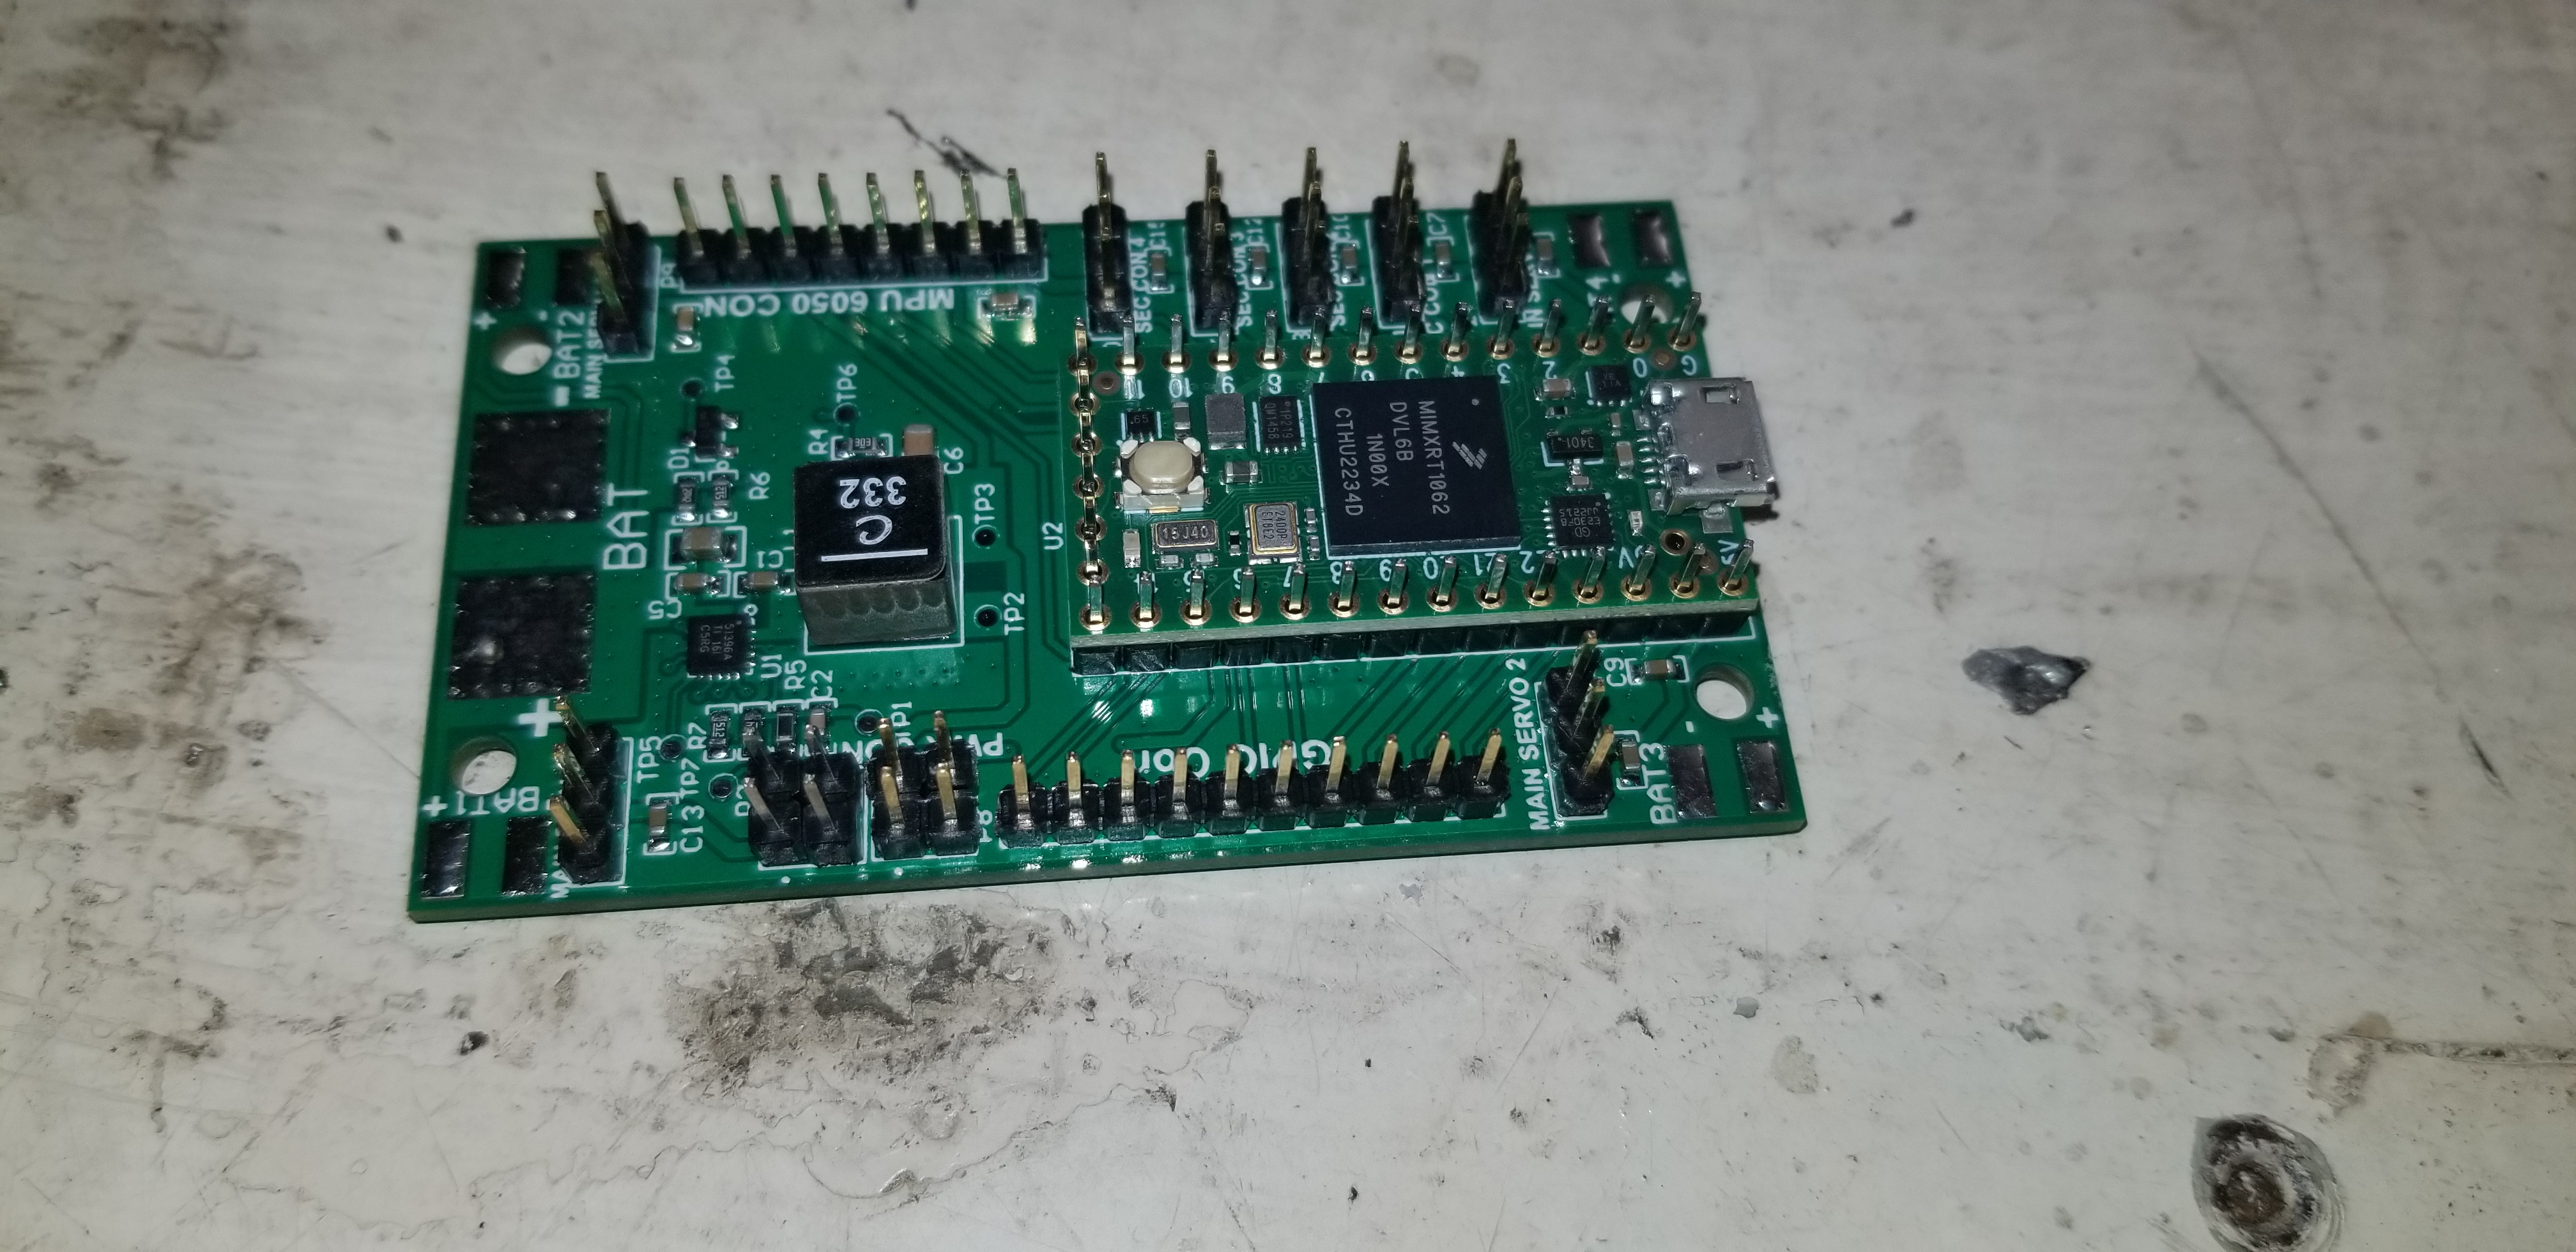
With the pins inserted into both the teensy and the Towerboard, solder all 4 corners of the teensy first, then the towerboard. This holds both in place.

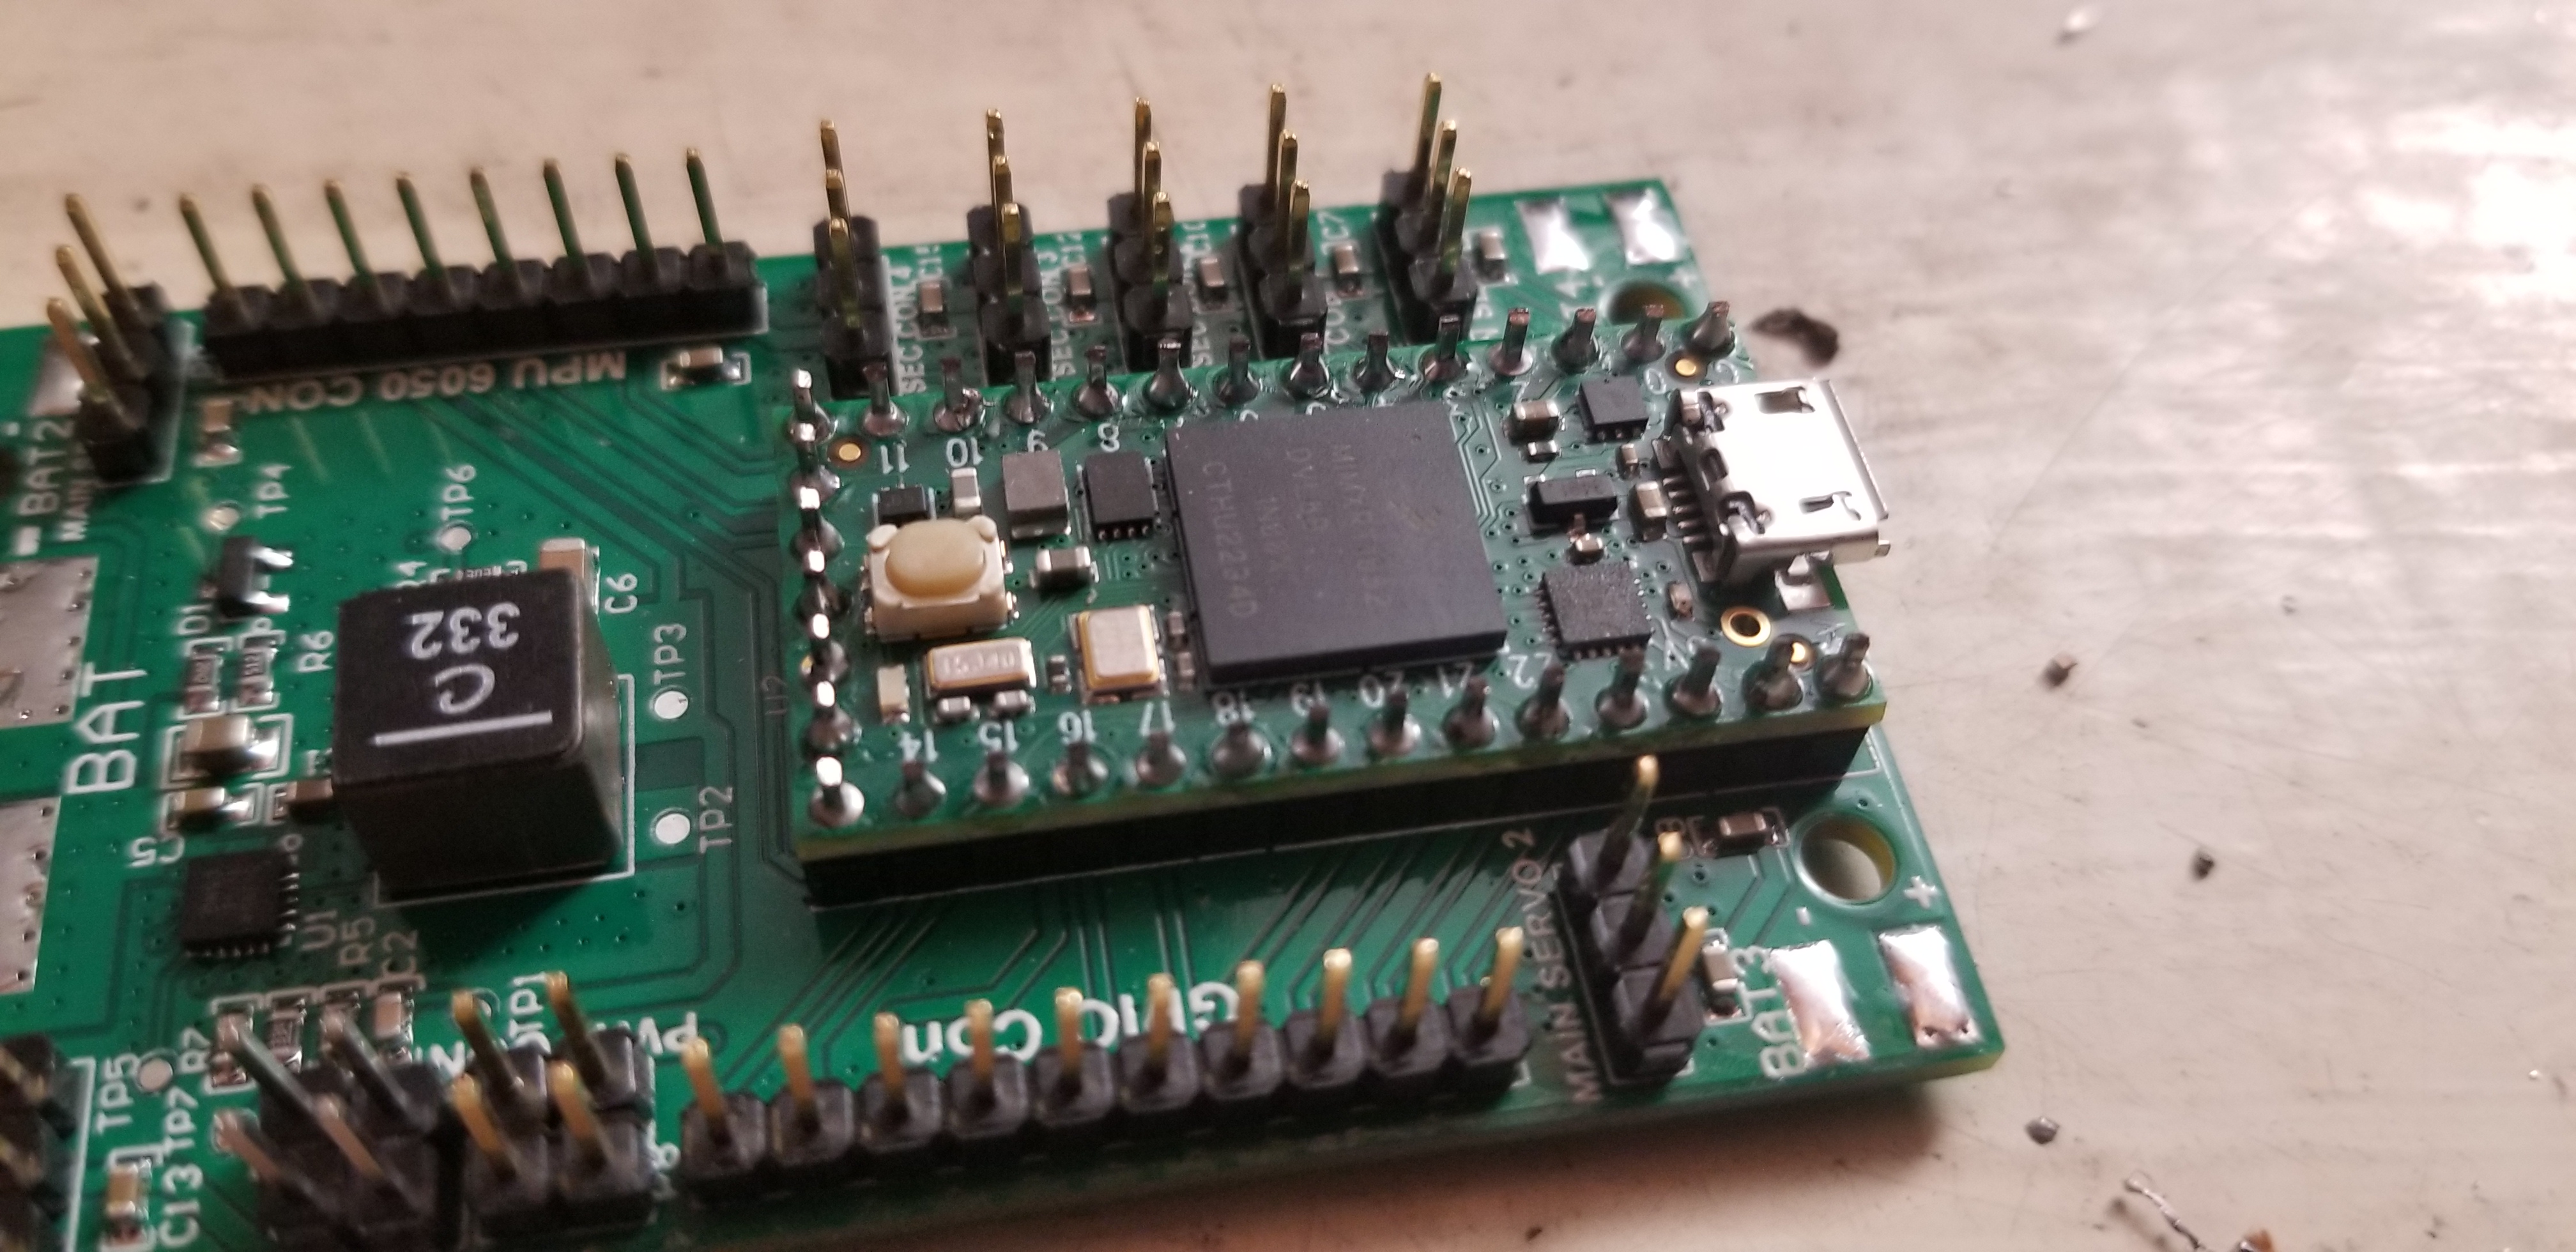
when all 4 corners are soldered (8 solder joints total!) you should then solder all remaining pins to the teensy and the towerboard.
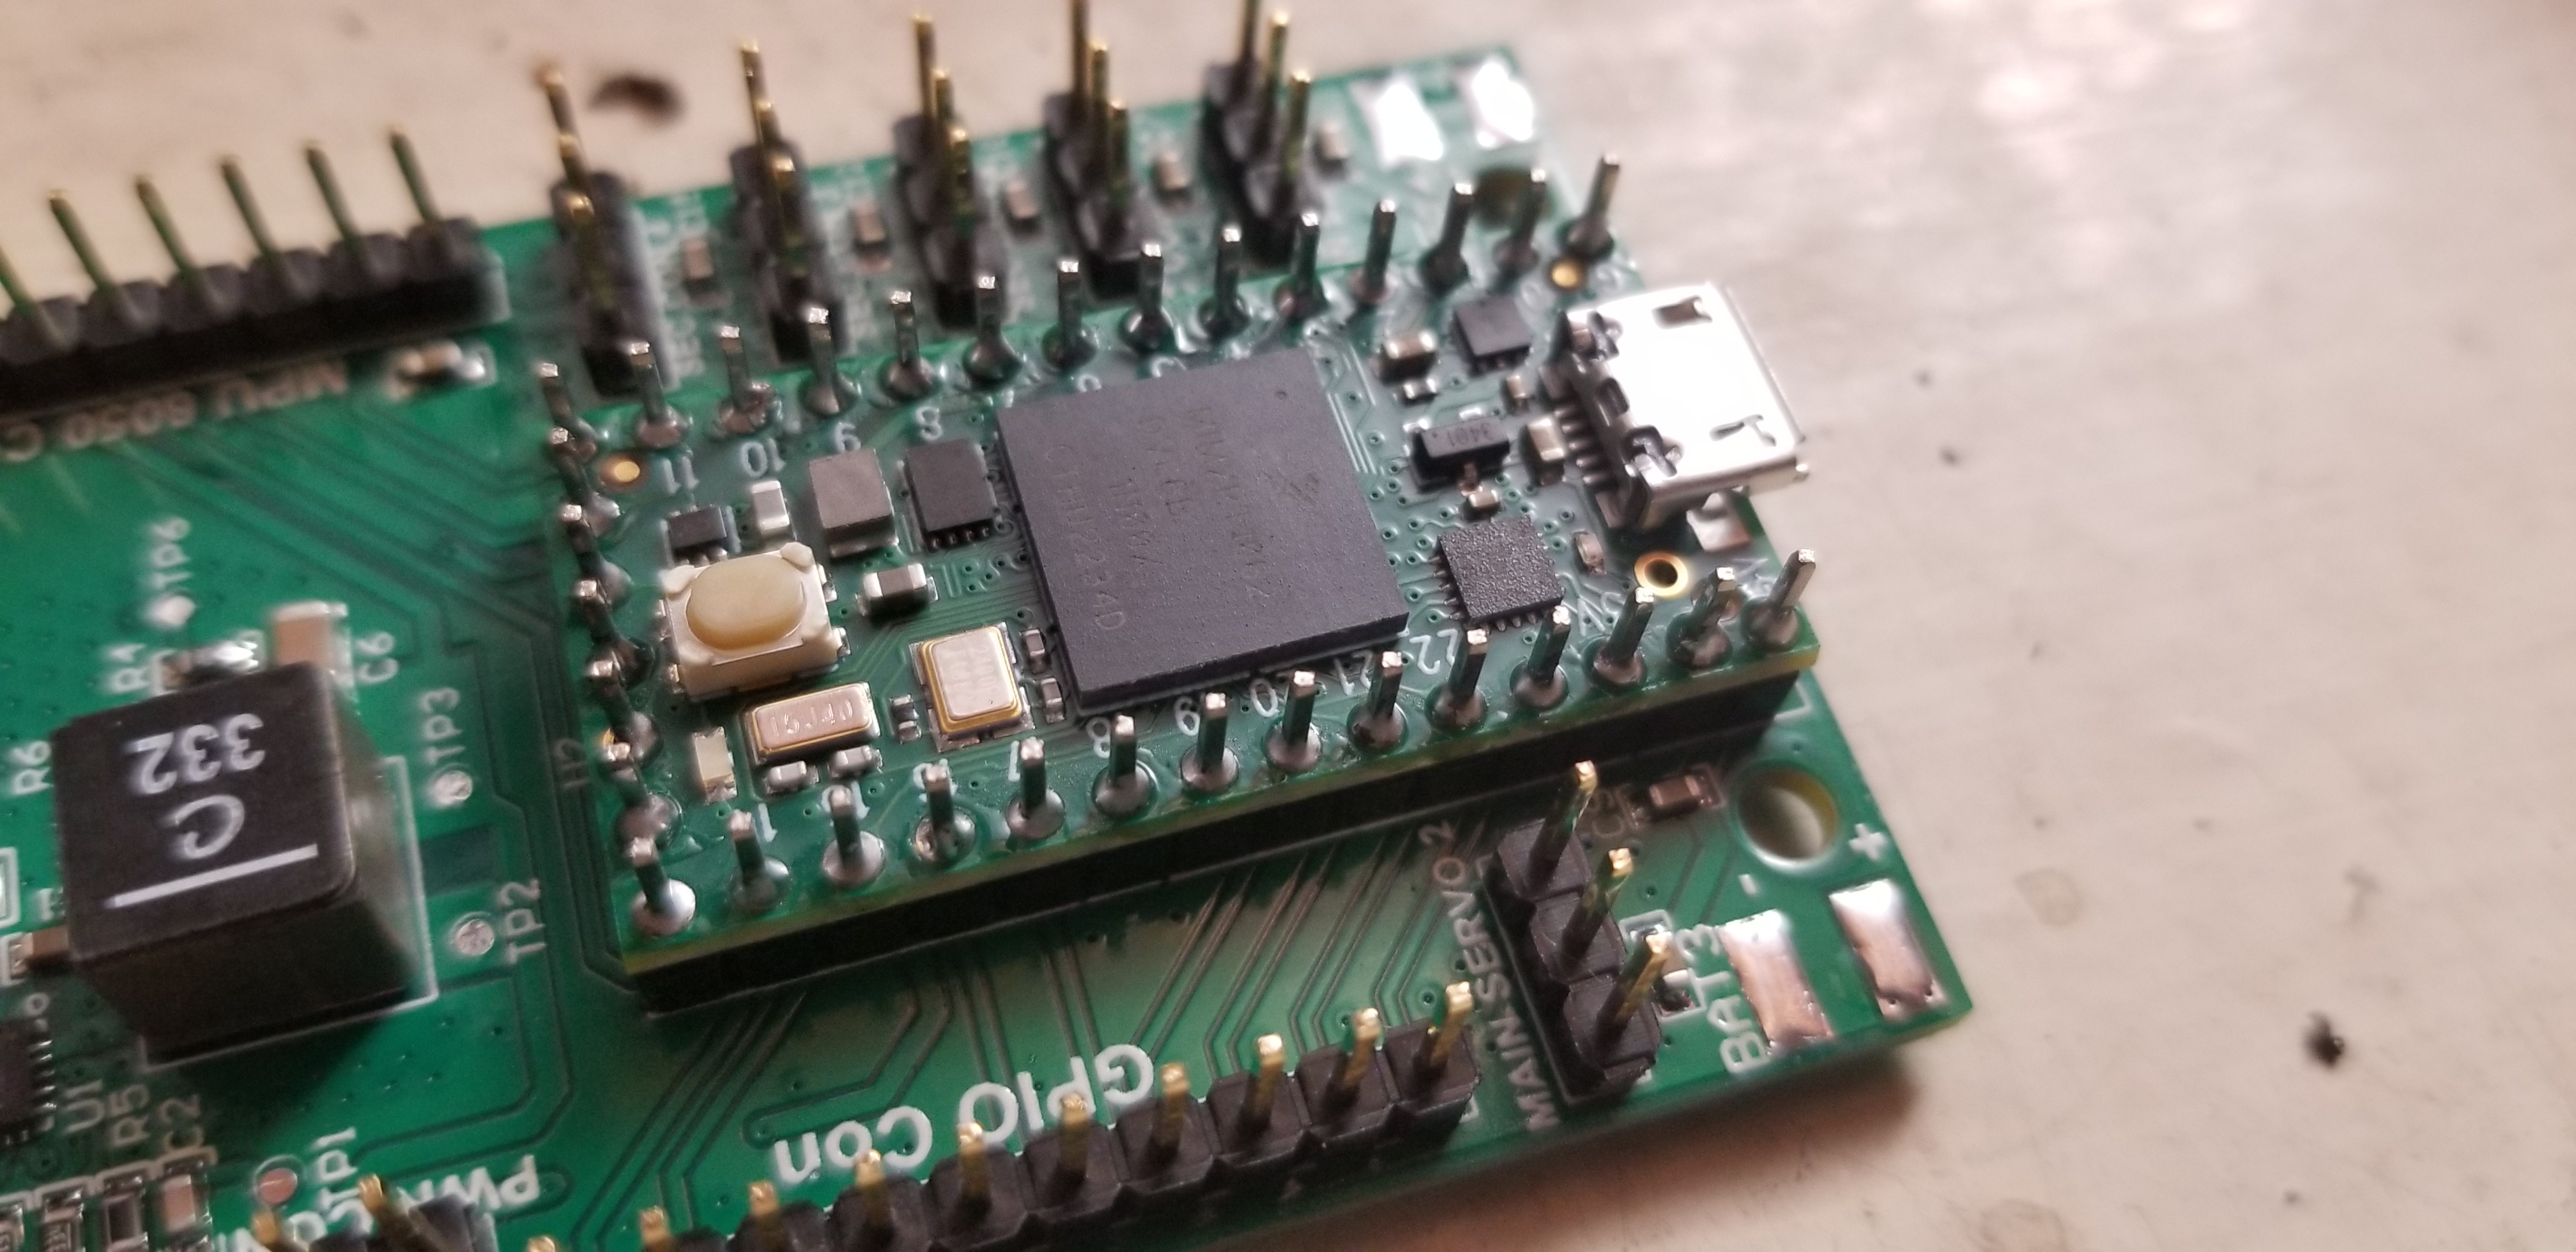
When all pins are soldered on both, cut off the excess pins sticking through.
Do the same for the MPU6050
Your battery should be 1S to 5S. S refers to the number of cells in the battery. Generally, the higher the cell count, the higher the voltage, but capacity is reduced. In general, the cell count does not affect flight time directly, but it does impact how fast the propellers are able to spin.
Find the correct plug and solder it to the TowerBoard's battery ports. The red wire of the battery should go to the battery port labelled +.
Solder the motors to the motor pads of the ESCs. The wire order should match the way they come out of the motors, but can be changed. Swapping any 2 wires on the motor pads will make the motor drive in reverse.
The ESCs have 2 more sets of wires coming out of them. One set is black and white, usually twisted around one another. These are the signal wires. They also have thicker red and black wires. Solder the black wires to esc pads (at corners) boxed in black. Then solder the red wires to the other pads. The signal wires should go into the esc connectors corresponding to the motor's spot. So the top left goes into #1, top right into #2, etc.
Make sure the motors are screwed into the frame, the battery is attached securely to it, and the TowerBoard is either screwed to it or stuck to it with hot glue.
Plug the radio controller's 5V in to the 5V out on the TowerBoard. Wire in ground as needed to the radio controller. Wire the radio controller's sbus signal out to GPIO pin 21.
Your TowerBoard is now complete. Plug in the battery and listen for all 4 motors arming. You should also see all 4 motors move very slightly, 2-5 degrees, in time with the ESC power on sound. This is how you can tell they are all working. Also check that the light on the teensy and MPU6050 is illuminated. Nothing should make more than the “power on” sound past here but this is a good check to make sure everything is working.
Unplug the battery from the TowerBoard. Ensure the MPU and remote controller are attached correctly. Now plug in a microusb cable to the teensy on the TowerBoard.
Bring up the arduino IDE and open TowerDrehm with it (If you follow that link, go to versions->beta 1.0 and open TowerDrehm_Teensy_BETA_1.0.ino).
Follow procedures described on line 346 to calibrate the IMU. Make sure the towerboard is level and still.
In the main loop function, find the commented lines starting with debug_
For each of the next procedures, uncomment the indicated line, and comment the rest out.
STOP. ENSURE YOU DO NOT HAVE PROPELLERS ATTACHED TO THE MOTORS FOR THE NEXT STEPS
You now have debugged and checked all of the main functions of the board. Now unplug the USB and plug the battery back in. You should hear the motors have a new “Arm” sound at the end of the “power up” sound. This is because they are receiving the PWM signal from the TowerBoard. If they are not, you may have the direction reversed!
You should now be able to see the radio control works. Make sure the arm/disarm signal you chose works first, then check the speeds react to changing vehicle orientation and different radio signals. Check the directions of the motors. No motor should spin in the same direction as the motor next to it or above/below it! If a motor spins the wrong way, unsolder any 2 leads on the ESC motor pads and solder the wire to the opposite pad you just removed it from.
When all motor directions have been checked, unplug the battery. Attach the propellers to the motors (Making sure the propeller direction matches the direction of the motor's spin!) and plug the battery back in.
You're now ready to fly. Make sure you trim your aircraft properly!
Most code you write should overwrite ControlMixer.